How to Set Up and Use Logseq Sync
All Logseq Sponsors and Backers have access to the beta version of Logseq Sync.
In this article, you'll learn how to get access to Logseq Sync, how to set up your first remote graph, and what to keep in mind when using Sync.
Table of contents
- How to get access to Logseq Sync
- How to enable the Sync feature
- How to set up a new remote graph
- How to ensure your notes are synced
- How to switch between remote graphs
- How to open an existing remote graph on mobile
- Error: "User is associated with another graph"
- Storage limitations
- How to give feedback and get support
How to get access to Logseq Sync
During the beta test, we're giving all of our active Open Collective contributors access to Logseq Sync. That means you need to have monthly recurring donation of either $5 per month or $15 per month. We'll implement a normal subscription system once we launch Sync to the general public.
Please allow up to an hour for Open Collective to sync up with our authentication system. In the meanwhile, you can continue by activating the Sync feature and creating your Logseq account using the same email address you used in Open Collective (see the steps below).
For Logseq Sync to work properly, you must run at least version 0.9.11 of Logseq desktop or mobile. Click here for the Desktop and Android app, and click here for the iOS app.
How to enable the Sync feature
First, enable the experimental Sync feature. To do so, go to Settings > Features and enable the Sync toggle.
This works on Logseq Desktop, Android, and iOS. However, we strongly urge you to set up your first remote graph using the desktop app.
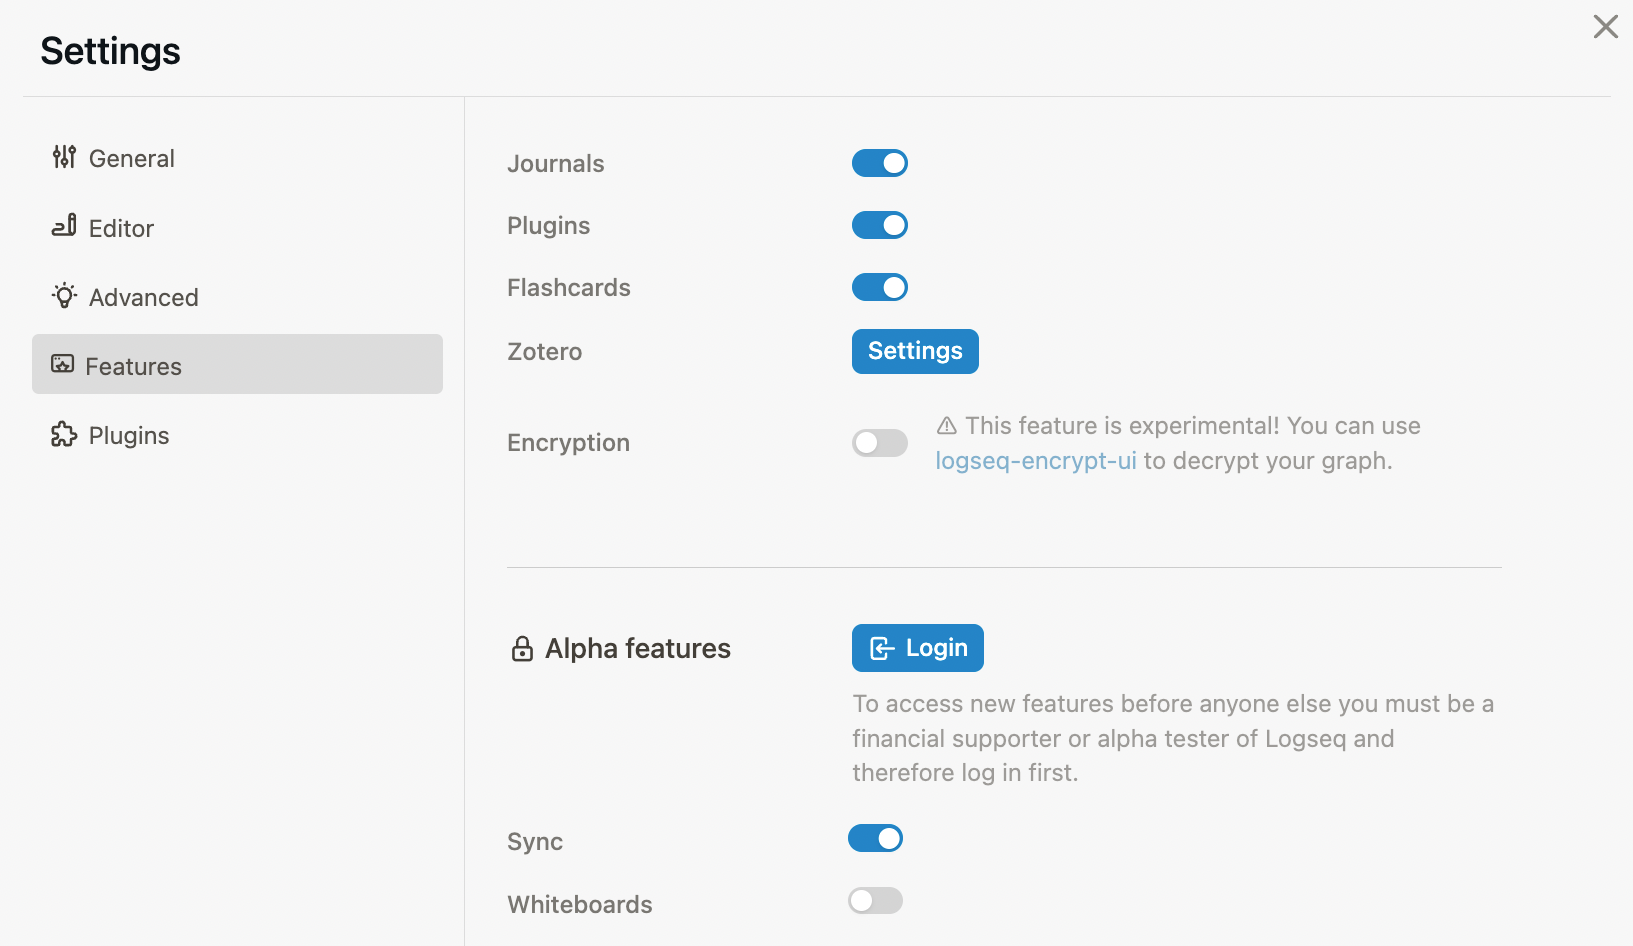
Next, click the Login button. You'll see a small window pop up with two tabs: Sign In and Create Account.
Click the Create Account tab and fill in the form to create your account. Make sure to use the email address you used on Open Collective.
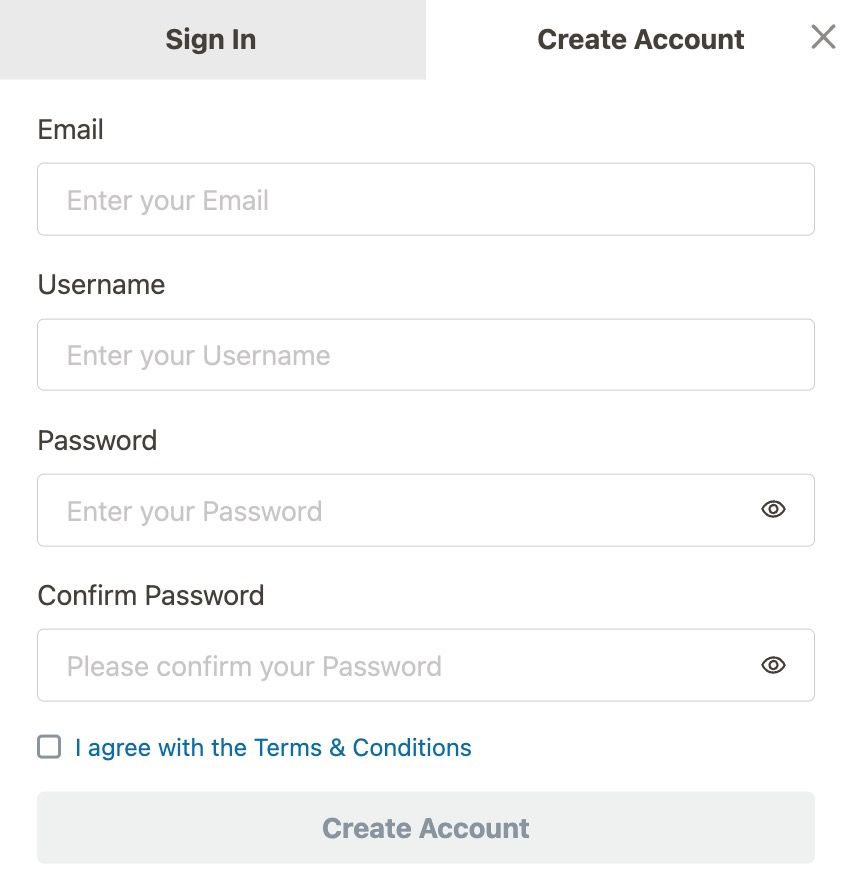
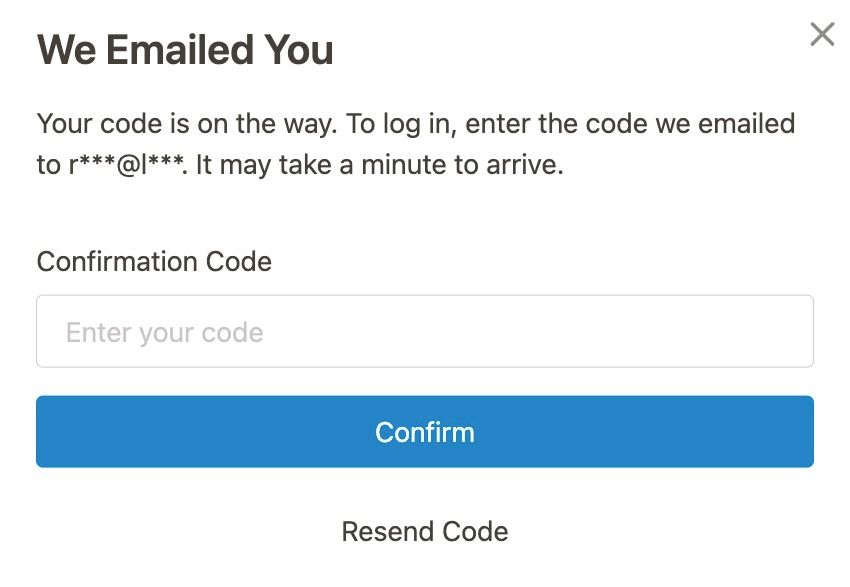
When you've chosen a username and a secure password, click the Create Account button and confirm your account using the verification code you received via email:
Finally, login and return to Logseq.
If you've just turned Sponsor or Backer, please allow up to an hour for the system to check your credentials and give you access to the next step.
If you haven't received a verification email within 10 minutes (first check your spam folder), please contact us and provide your email address and username.
How to set up a new remote graph
A synced folder is anything that a third-party service like iCloud, Dropbox, OneDrive (or similar) monitors and backs up to the cloud. From now on, only Logseq Sync should be syncing your graph. Don't skip this step, otherwise you might lose some of your notes.
See the instructions below on how to do this.
If your graph is currently stored in a synced folder (e.g. synced using iCloud, Dropbox, OneDrive, etc.), follow these steps first:
1. Unlink your graph
In the top of the left sidebar, click your graph name and then the All Graphs button.
On the All Graphs page you'll see all of your graphs. Click the Unlink button after your graph that you wish to sync using Logseq Sync.
Keep this All Graphs page open for the third step.
2. Move your graph folder
Using File Explorer (Windows) or Finder (Mac), move the folder containing your graph out of any synced folder, onto your local device only.
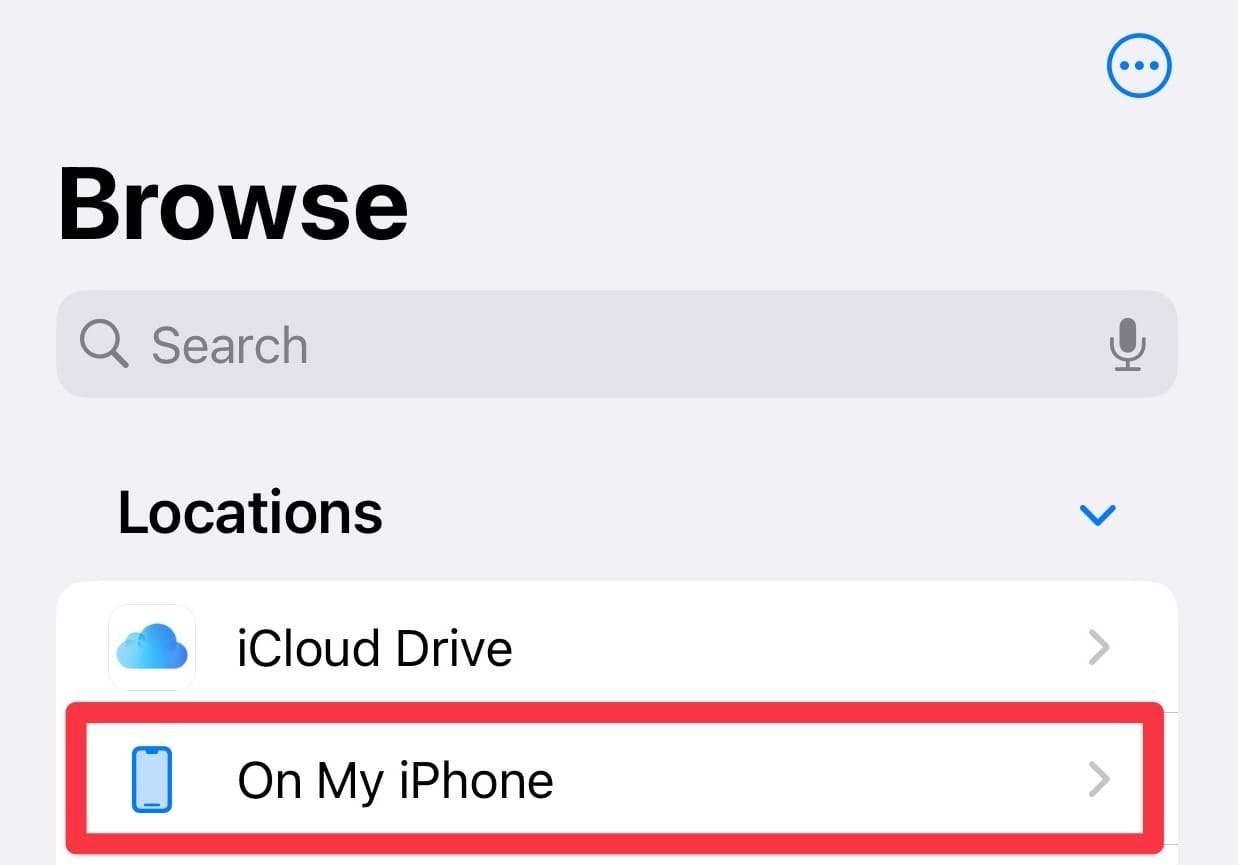
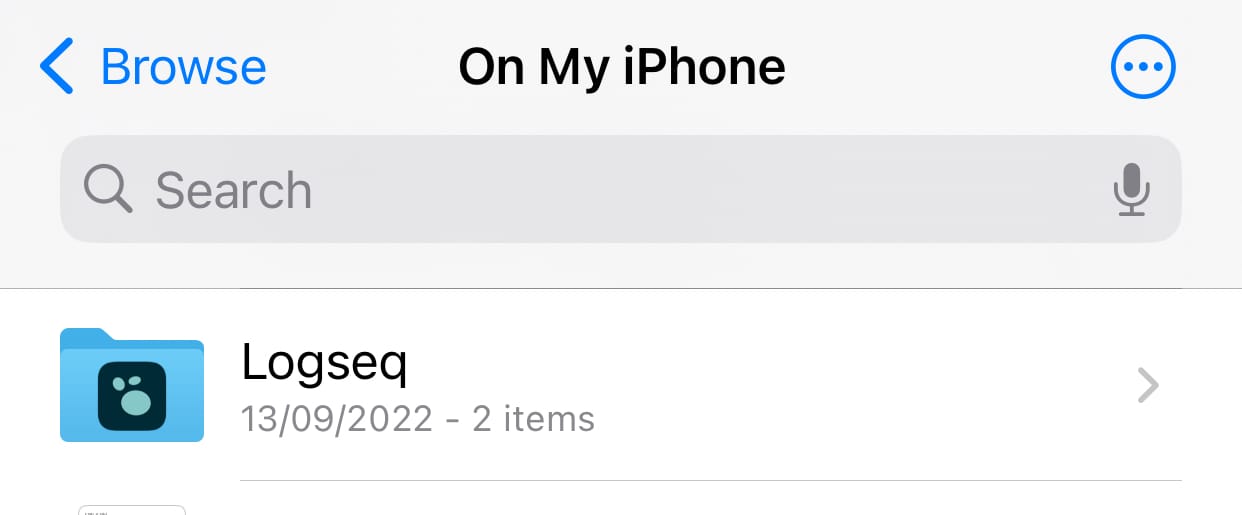
If you're using Logseq on iOS, make sure that your store the graph in the Logseq folder on your iPhone or iPad. If you store the graph outside of the Logseq folder, you won't be able to use Sync. Don't see the local Logseq folder? Restarting your iOS device will solve the issue.
3. Link your graph
On the All Graphs page, click the button that says Open a local directory and select the local folder that contains your graph. You're now ready to follow the rest of this guide.
To create a remote graph and start syncing your notes, click the cloud icon in the top menu bar:
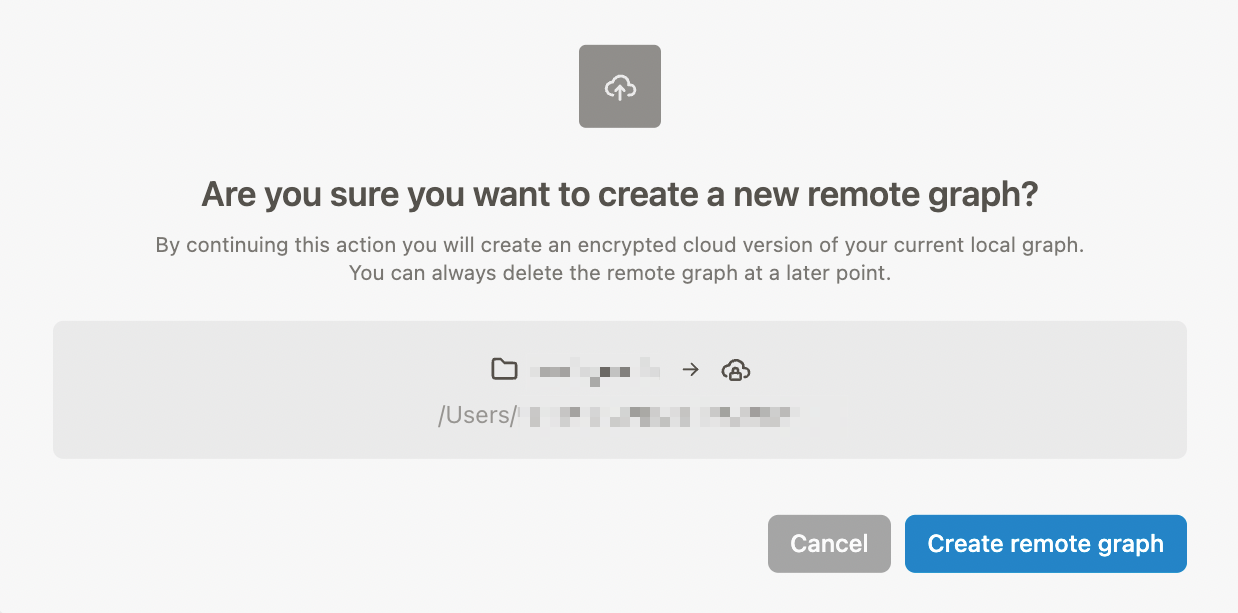
Next, you're prompted to set up a new remote graph. Click the Create remote graph button:
Finally, set a secure password for your graph (this is different from your account password!) and click the Submit button:
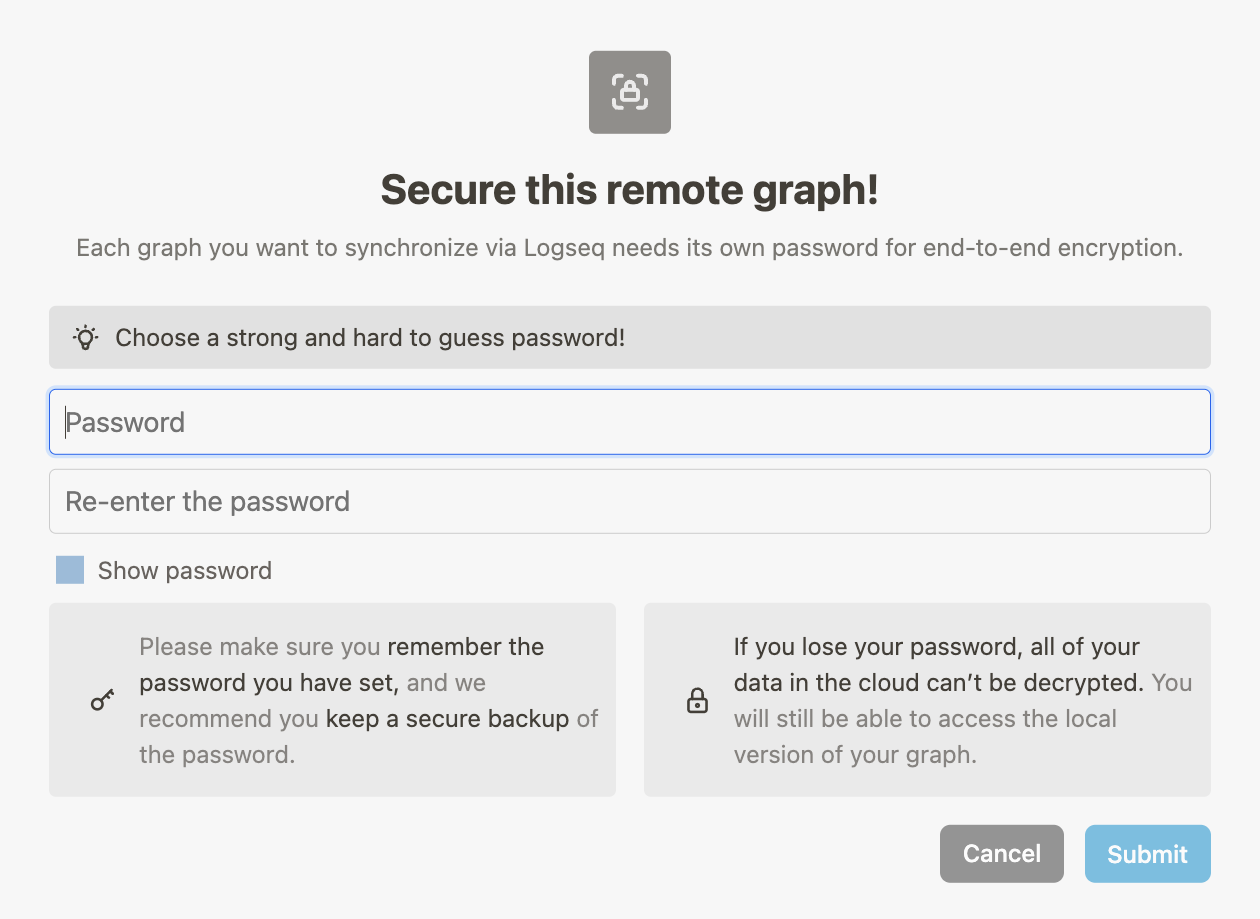
Note: Save your password in a secure place, because you can't change it later (nor can we change the password for you).
How to ensure your notes are synced
Logseq will automatically keep your graph in sync. When the dot in the cloud icon (in the top bar) is green, it means your graph is fully synced to the cloud. When the dot is orange, it means there are pending changes (either outgoing or incoming).
On mobile, Logseq will sync every two seconds after your stop typing. On desktop, it's currently set to sync 20 seconds after your stop typing.
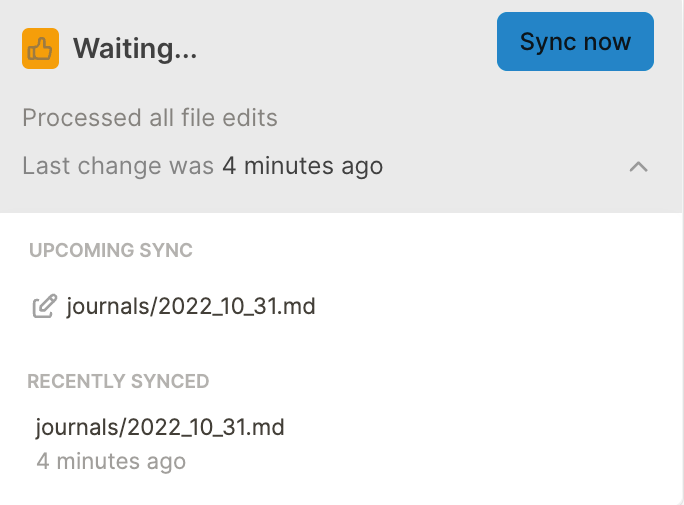
If you want to force a sync, click the cloud icon and then the Sync now button:
At the moment, it's important to keep an eye on the sync status. When you open Logseq, let it first sync before starting to type. Otherwise, you might run the risk of overwriting notes in the cloud. That's because currently, Sync works different from Git; it does not compare pages. Instead, it syncs the entire page containing the most recent changes.
See here for instructions on how to to enable Smart Merge.
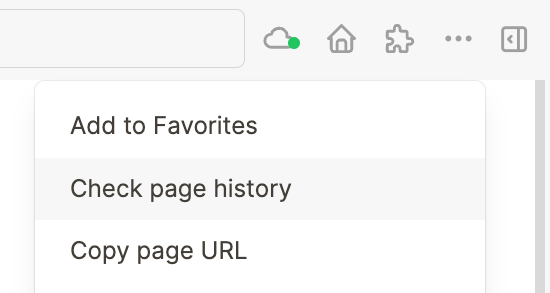
In case you do find yourself overwriting a remote change by accident, no worries. Logseq Sync keeps a page history for up to a year. You can access it by going to a page and clicking the Check page history button from the menu (...):
How to switch between remote graphs
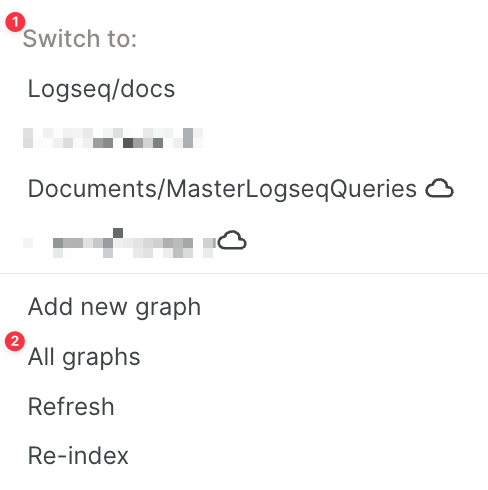
Switching between remote and local graphs is easy. Simply switch graphs via the left sidebar (1) or the All graphs page (2). Remote graphs are indicated by the cloud icon behind their name:
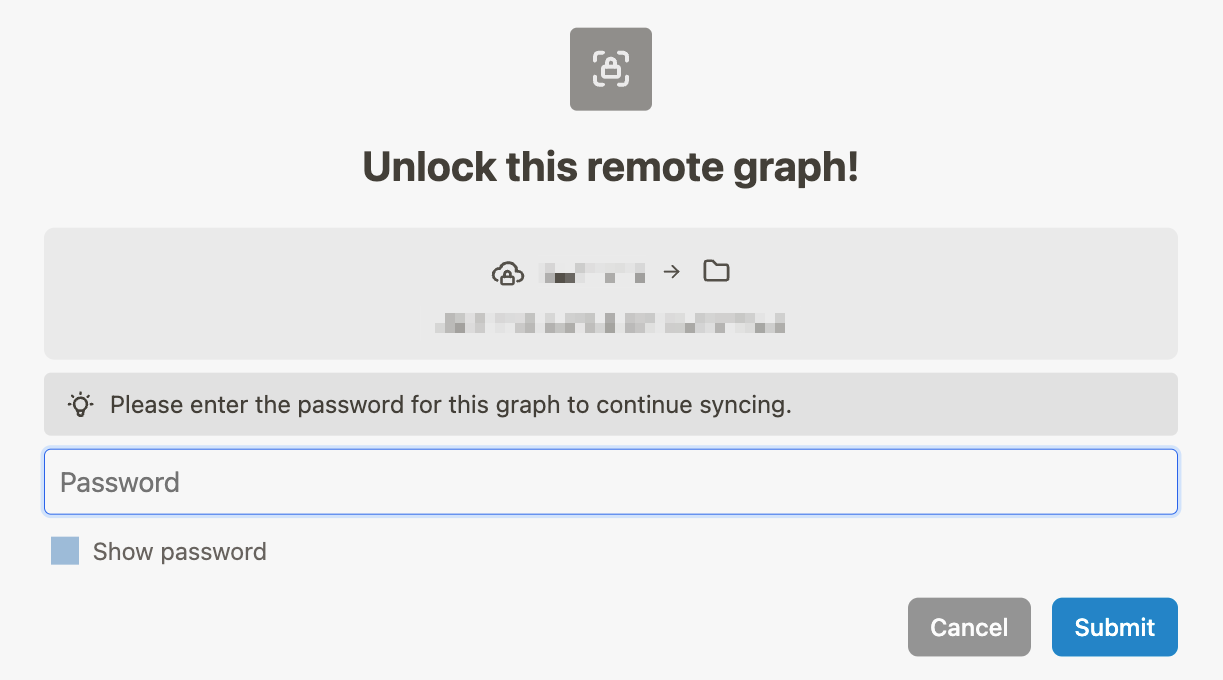
When switching to a remote graph, you'll be prompted to enter its password (this is your graph password, not your account password):
How to open an existing remote graph on mobile
To open your remote graph on a mobile device, make sure you're also logged into Logseq mobile with the same username as you're logged in on your desktop.
The first time you login on mobile, Logseq will likely ask to make your current graph remote. If you already set up your remote graph in the steps before (which we recommend) tap Cancel.
Next, open the left sidebar in Logseq mobile and tap your graph name (top left). From the dropdown menu, select your remote graph (recognizable by the cloud icon next to it). Logseq will now ask you to store your remote graph somewhere on your mobile. Make sure you save it locally, and not in a synced folder.
Error: "User is associated with another graph"
When you create new a remote graph based on an existing remote graph (for example when you forgot your graph password or changed usernames), it's likely you get the error "User is associated with another graph".
To solve this error, do this:
- Close Logseq on all of your devices.
- Go to the folder where you've stored your graph. Inside, you'll find a folder titled
logseq - Open the
logseqfolder and locate the file titledgraphs-txid.edn - Delete the
graphs-txid.ednfile. - Start Logseq and login to Sync with your desired username.
In case you still get the error, please email support.
Storage limitations
During the beta test, these are the storage limitations:
- Maximum number of remote graphs: 10
- Maximum graph size (per graph): 10 gigabyte
- Maximum asset size (per asset): 100 megabyte
Based on feedback and users' needs, we might change these limits at a later stage. We're also considering different storage tiers.
How to give feedback and get support
In case you run into any issues or want to provide feedback on how to improve Logseq Sync, please send an email to support@logseq.com and provide the following information:
- The email address you use for Logseq Sync.
- The exact issue you're running into. (Please add a screenshot or video if you can)
- What have you already tried to solve the issue?
- The version of Logseq are you using (exact version number).
- The device(s) and operating system(s) are you using.
- Apart from Logseq Sync, do you sync your graph using a third-party service (iCloud, Dropbox, etc.)?